5 string fretless bass project
Section 2: Neck work
Design | Neck | Fingerboard | Body | Finishing | Suppliers
Click to enlarge |
The first thing I did after finishing the design was to plane the next blank flat on one side.
Being not the best of woodworker, and borrowing my dad's plane and sharpening stone I had
a fair stab at it, but suffered from juddering (I think the plane wasn't sharp enough, and
my attempts at sharpening it were not that good!).
In the end I had a trip down to Argos, and bought a cheap power plane - for those of you
who haven't used one before, it has two blades on a rotating barrel with a height adjustment
screw. It gave about a 2 and a bit inch wide plane. Here you can see the neck blank after
it had been planed, and I drew a centre line on. The sides were relatively flat, and as these
would be cut later anyway, I did not bother planing them.
|
I did the same thing with the ebony fingerboard - this was a bit trickier being substantially
smaller than the neck blank, but it also had a slight bow in the wood which meant planing
was more difficult.
Click to enlarge |
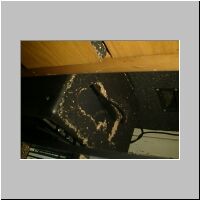
Making a bass can be messy work - just look at the dust that landed on the little MicroBass
amp after planing the neck blank and fingerboard!! I was making this in my music room at
my old house - the dust was absolutely everywhere. Make sure you wear a dust mask or
(as I did) a scarf over your nose and mouth. You'll be coughing up ebony dust for weeks
otherwise.
|

Click to enlarge |
Here you can see a close-up of a defect in the neck blank. I was aware of this when I bought
the piece (and got a couple of quid knocked off because of it). I'd made sure in the design
that I wouldn't need the wood around the defect. Make sure you take advantage of the nice
bits in a piece of wood and avoid the nasty bits. It didn't cause me any problems this one.
|
Click to enlarge |
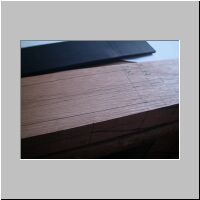
Here you can see a close-up of the marking on the neck blank (and also the planed ebony
fingerboard in the background). The marking shows a centre line (essential), the position
of the truss-rod channel, the outside edges of the neck, and also on the side the wood you
can see the profile of the neck depth as it will join the body flanks.
At this point it may be tempting to get it under the bandsaw, however because the sides of
the piece are parallel to the centre line, this is the best time to cut the truss-rod channel.
|
Now then. Under nice professional conditions, the best way of making a truss-rod channel
is to use a plunge router (ie router with base plate) and whizz along the length of the
channel. This will give a consistent-depth, clean slot into which the truss-rod can live.
Click to enlarge |
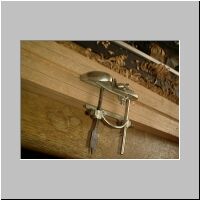
However, I didn't have access to one, and at that point didn't think it was worth buying one
(I wish I had now though!!) - and I borrowed a narrow channel plane from my dad. It had a
1/4 inch blade and was quite sharp. Here you can see the beast in action. It actually
worked really well all things considered, and I quickly got the channel down to the required
depth, which was deep enough to allow the truss rod to become flush with the surface of the
neck blank. The only tricky bit was the two ends of the truss rod channel, but after a bit
of effort with a small chisel they were taken care of.
|
The next job was to cut the sideways profile of the neck blank. At that time, I was working
for The University of Sheffield Electronic Systems Group, and the engineering department had
a fairly-well kitted out mechanical workshop, including a quite meaty bandsaw. The neck was
4 inches thick, and the bandsaw got through it like a knife through butter. Shots 10, 11 and 12
show close-ups of the neck after cutting and with the truss-rod in place. All seemed fine
at this stage apart from one big error - more of that later.
Click to enlarge |
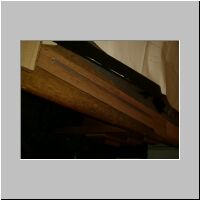
Next the neck was cut in the other dimension - the top view. Again, I made use of the
band-saw here and it again whizzed through the mahogany very quickly. At this point the
headstock is still unshaped...
|
Click to enlarge |
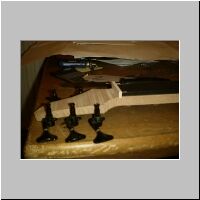
After cutting a tracing-paper copy of the headstock shape out, I used a cheapo coping saw
to cut out the shape by hand. A quick bit of tidying up was done with some 80 grit
sandpaper. A quick sanity check was then made with the machine heads and nut blank as to the
starting position of the fingerboard.
|
Home | About Lee | Links | Back | Continue


