5 string fretless bass project
Section 5: Finishing it up
Design | Neck | Fingerboard | Body | Finishing | Suppliers
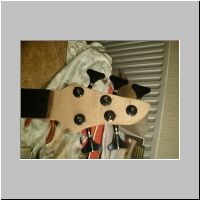
Click to enlarge |
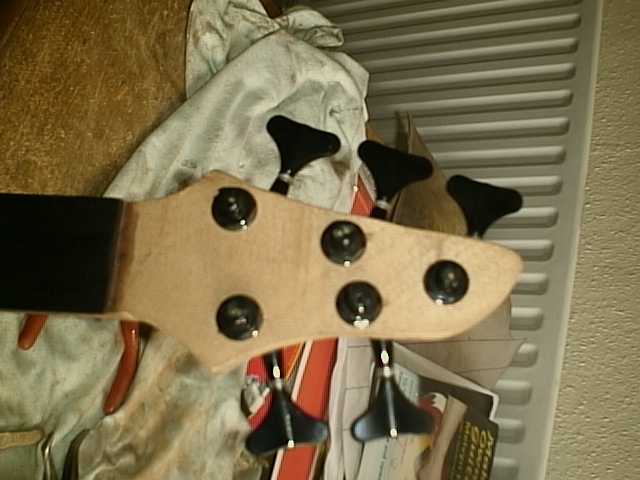
I then went about drilling the mounting holes for the machine heads, which was fairly easy
although you need a large-diameter drill bit. The problem is large drill bits tend to
'grab' the wood surrounding the hole, resulting in nicks and pieces of grain missing.
|
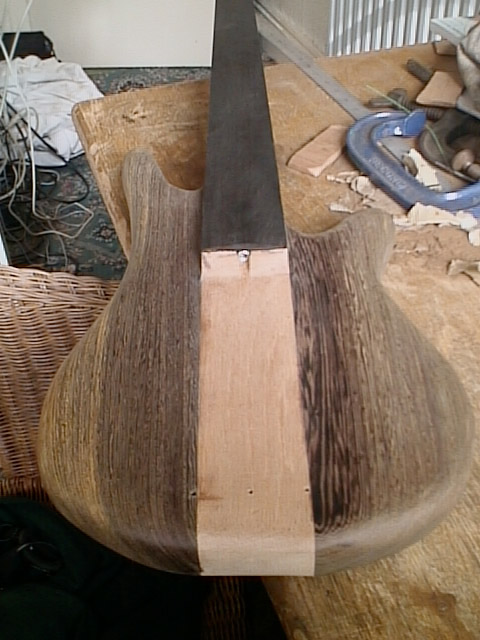
Click to enlarge |
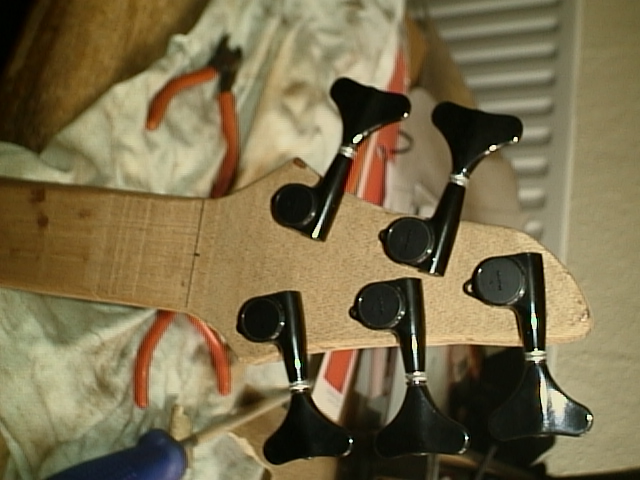
Here's the same headstock from the back. You can also see that no neck profiling has been
done yet on the back.
|
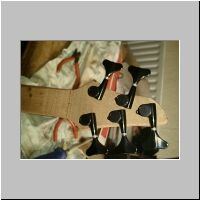
Click to enlarge |
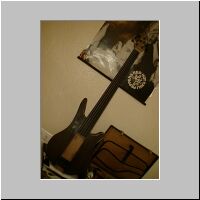
At this stage I was really excited, and decided to see if the thing could actually be strung
up and played. I made a very rough nut from the nut-blank, and screwed the bridge onto the
body. Everything was set with a high, horrible action etc - but the damn thing actually
played, although the G string was cutting out at certain areas - due to the fingerboard
not yet being profiled correctly!!
|
Click to enlarge |
This is a close-up of the rough and ready body-end of the bass...
|
Pleased with the fact that the bass kind-of worked, I destrung it, removed the machine heads,
bridge, etc and began the process of shaping the neck and body. I forgot to take many
pictures here (I did have a few more, but my PC at home was stolen and I lost them :( ) so
apologies for the huge step in time.
Click to enlarge |
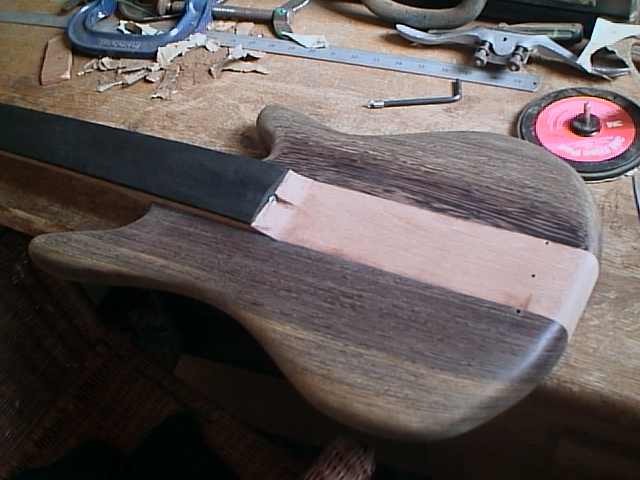
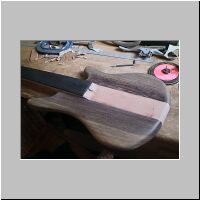
To profile the body, after realising to do it by hand would take an eternity, I bought a
disc-sanding kit for my electric drill. You can see one of the pads just above the part-
shaped body. This was used to provide the violin-like curvature on the body, ensuring that
I did not remove too much wood from the edges where the electronics and bridge would be
going. The rest of the shaping was done with a flap-sander (for the horn-neck area) and by
hand with some round files and rasps.
Final finishing was done with progressive grades of sandpaper - this was quite time consuming.
|
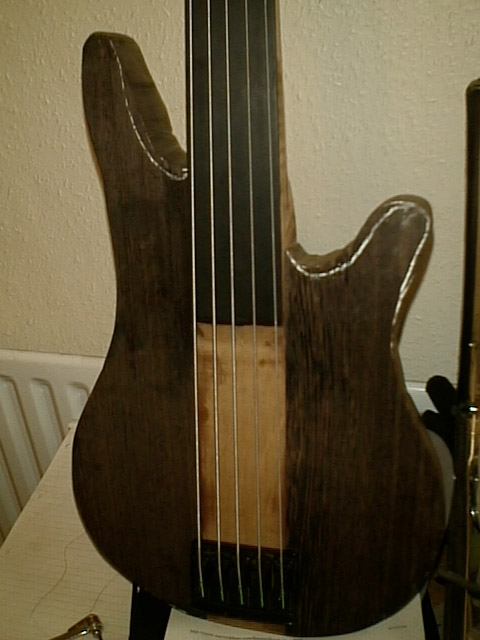
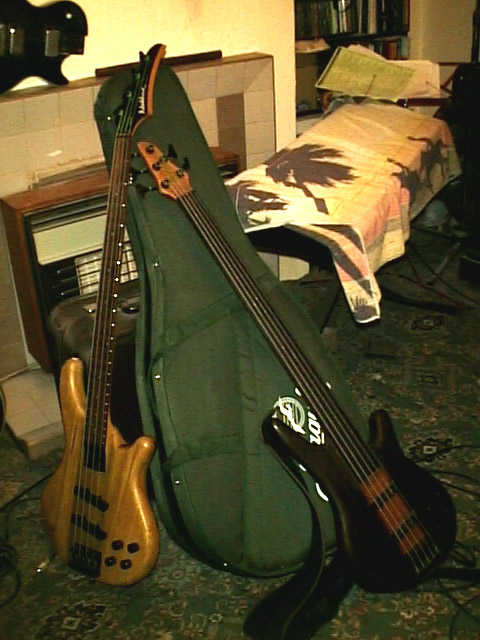
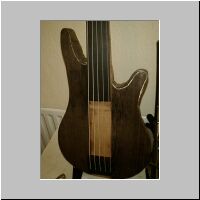
Here is a shot of the almost-finished article. There was some additional rounding done
after here.

Click to enlarge |
The back of the neck was profiled using a combination of a round rough rasp, and a flat-
based spoke-shave. Getting the rough shape was quite easy, but the tricky part was ensuring
that the shape was uniform along the length of the neck. Some people make profile cards
out of pieces of cardboard, with maybe 3 to represent the desired shape along the length of
the neck. I tried this, but wasn't too happy with their function. In the end I did it by
hand, feeling where I thought some wood needed to be taken off. It was also tricky
calculating how thin I should make the neck in order to not weaken the neck too much due to
lack of wood. The neck was then smoothed down by hand using progressively finer grades of
sandpaper.
|
Now came the fun bit - well almost! I had to first make some holes in which the pickups
would go. Here a plunge router would have been an absolute godsend, but as it was I had to
make do with a drill bit and a couple of chisels. After stringing up the bass again, I
temporarily rigged up each of the two pickups to a jackplug, and plugged them into my
mixing desk and headphones. I then held the pickups above the strings while playing the
bass (or trying to!) - I then roughly decided on where the pickups should go based on the
best sound.
After marking the positions out by drawing around the pickups with a pencil, I began to drill
the four corners of the holes, and joined up these four with more drill holes. It then looked
like swiss cheese! Using a small (about 10mm) chisel I then began removing the excess wood.
The hole was further deepened by use of the chisel again, until deep enough to hold the
pickups. The sides were smoothed off by use of the round file and sandpaper. This was
repeated for the second pickup, but the set I bought (Bartolini J-bass replacements) as is
common for that style, are different lengths and have different mounting hole positions -
so beware of this!
A hole was drilled through from the corners of each pickup into approximately where the
control compartment would live.
The control compartment, which would eventually hold the 9v battery (as I wanted to have
active electronics) and the electronics would also have been easier if I had a router. I
designed a shape that would allow one plastic plate to cover the electronics and a battery,
and this was largely determined by the position of the 4 pots I wanted (the idea was for
volume, pickup blend, bass, treble and maybe a mid-boost on a pull-pot). I then drilled the
centre holes for the pots from the top of the bass through. I then roughly marked on the
outline of the compartment - NB that you need to design a shape for the recess where the
cover plate will fit, but also where the deep recess will go that will hold the electronics.
Again, the drill and chisels were used to make the holes - this was VERY nerve wracking as I
needed to make a recess of the depth of the guitar, leaving just 1/4" of wood on the top of
the bass where the pots are bolted onto the wood. One wrong slip and the bass could
potentially be ruined. Luckily, and with great care, this didn't happen. Phew!
As part of the electronics design, I had gone for a fully-balanced line-level output which
should in theory give the optimum sound quality. I also wanted the facility to phantom
power the bass, so in effect I built a DI-box into the guitar. For this, I needed to
have an XLR output socket. I bought a chrome-plated one from Maplin (you can probably get
nicer ones, but it does the job). This required a quite large hole (22mm I think) and a bit
of chisel work to make the chrome faceplate level with the edge of the bass.
To get the guitar up and running quickly, as I had not yet built the electronics, I had
4 pots lying around from an old guitar, so I rigged up the electronics up as passive, with
only the pickup blend pot and the volume pot actually doing anything! It still sounds great
and nope, I still haven't built the electronics - though I will one day!
Finally finishing the guitar:
After ensuring all hardware was removed and the body made really smooth with fine grade
sandpaper, and then very fine grade wire wool, I hung up the body (using a counterbalanced
mike stand!). For the fingerboard, I used boiled linseed oil which is quite light. I gave it
2 coats, leaving it to dry for 24 hours in between each coat and rubbing the sheen off using
fine wire wool. For the body and neck, I used teak oil, which brought a nice dark colour
to the wood (you can use stain also to make it even darker, but I didn't think it necessary).
Again, 2 coats were done with 24 hour gap and wire wooling. I wish I had done a couple of
more coats though, as some parts are a little uneven. I'll add a few more coats sometime.
After all the woodwork was over, I mounted all the hardware on - some part of which like
pickup screws, springs, strap buttons I got from Pincott's. I also visited a local music
shop, Wavelength music, where I bought a piece of coverplate plastic, and also 4 black
knobs for the pots.
Home | About Lee | Links | Back | Home