Click to enlarge
Electronic Melodeon Project - Moolodeon
Section 1: Background
I play with an electronic folk / rock outfit, and we tend to wear daft outfits, and have ridiculous stage props.
With this in mind, and also wanting a new challenge I decided it would be a good idea to build a working, but silly electronic melodeon for the Summer of 2009.
Live we already use laptop generated synth and sample sounds (usually played through a standard keyboard controller),
and we also have at least one real melodeon happening. To spice up the available sound palette I thought it would be useful to have
an electronic melodeon as well! A melodeon is a diatonic accordian, which means you get a different note for each key depending on the direction
of the bellows (this made for some interesting software!)
Now, for more serious use, Steve at Streb already makes some very professional electronic melodeons, but I decided to do
it on the cheap, and learn a bit in the process.
Initially I based the development around a PIC microcontroller, as I'd had some exposure of developing on this around 7 years ago.
However having literally got the kit out of the attic and blown the dust off, I found starting from scratch in PIC assembler to be a bit tedious.
I'd heard a lot about the Arduino platform on the net, and decided to give that a go. It was very easy!
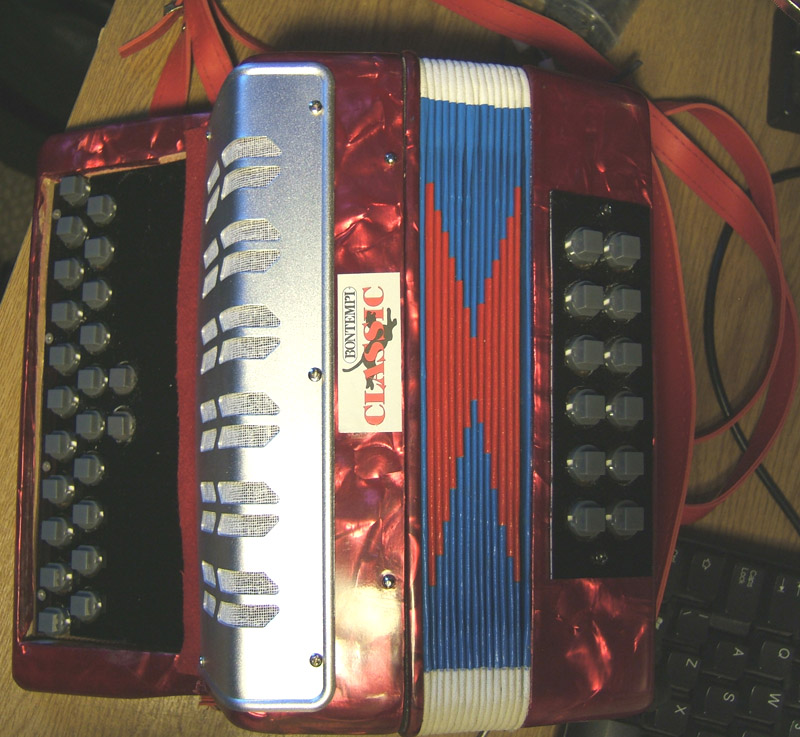
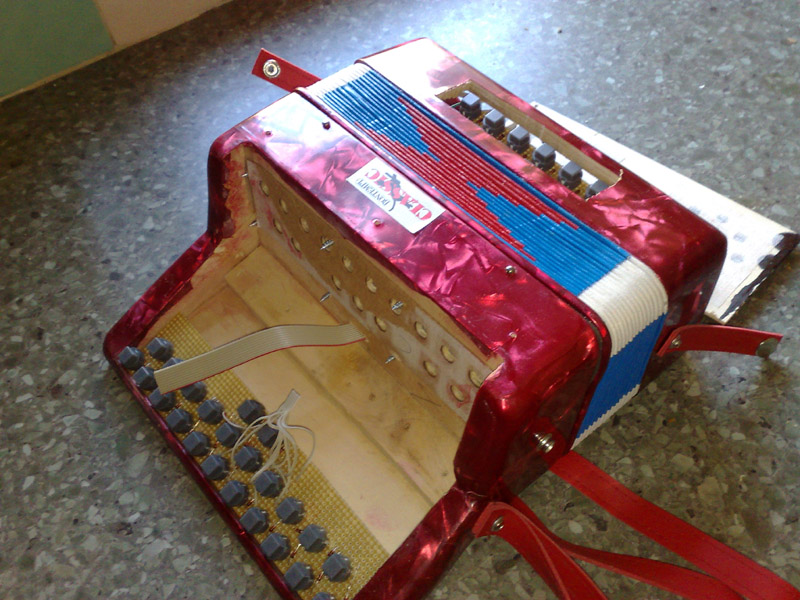
I decided that the easiest way of trying out my idea would be to find a 'donor' real melodeon from which I would remove the reeds, attach
switches to the keys, and utilise the bellows for pressure. However, even broken melodeons are a bit pricey. In the end I decided to buy a kid's accordian:
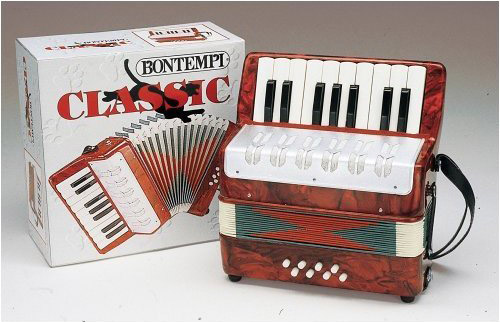 Click to enlarge | This was literally 30 pounds from Amazon - quite cheap!
|
Section 2: The Electronics
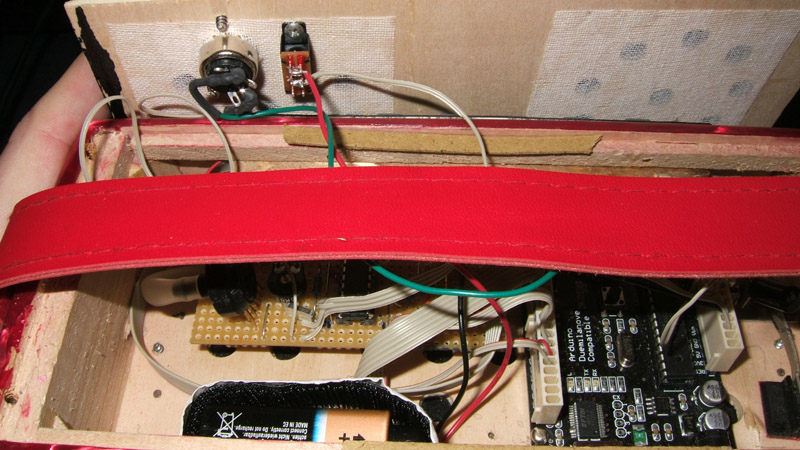
The system I came up with was based on two sets of key matrices, an analogue processing board and the Arduino:
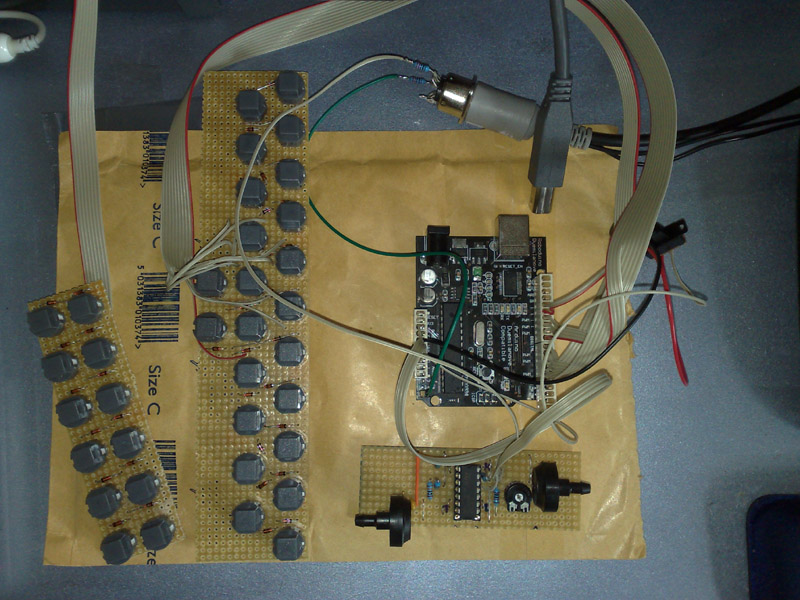 Click to enlarge | Arduino Duemilanove compatible (Roboduino) with ATMega 168/USB interface
|
The original intention was to keep the USB for programming / debug, and output via midi. However the UART on the arduino is shared with the USB,
so it gets cumbersome to connect / disconnect the USB during use etc. Instead I found the excellent 'newsoftserial' library which allows creating
a software uart on any i/o pins. So I put midi on one of the spare A channel outputs, and kept USB for debugging info etc. Later on I decided that as
my laptop didn't actually have a midi port, i'd send midi data via the USB connection (after ironing the kinks out of my code). I found a Roland serial
to midi loopback driver (as the USB device appears as a serial port) so that all i need is a USB cable to my laptop and it gets power, and midi data
back in return - what could be simpler! I have used this live and it works a treat. So basically you can have the choice of fully-contained MIDI output
powered from a 9V battery, or powered via USB driving a laptop.
 Click to enlarge |
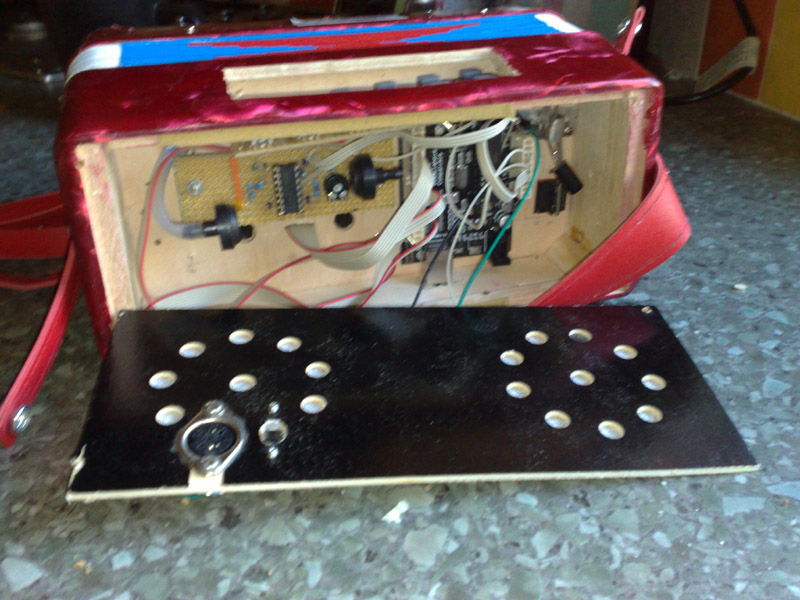 Click to enlarge |
 Click to enlarge |
Section 3: The Software
Most of my problems were mainly software - the hardware actually came together surprisingly easily. I had trouble with the
various analog driven state machine type stuff, e.g. with being a melodeon you get different notes depending on the bellow direction, and if
you're holding keys down while changing you have to keep arrays of what's active in order to send note offs before turning on the new notes etc..
all gets quite complicated with the various permutations of what can be happening and what can happen next etc - but I got it sorted in the end.
Pressure sensitivity was also a bit of an issue as you can either trigger a note with midi velocity or send volume continuous controller messages.
I ended up with a combination of both.
All the software was self-written, other than the NewSoftSerial.
It was a fairly standard program loop with routines to perform the key scanning (which included a triple-read routine for key debouncing, ie read 3
times and decide if it was more on than off - worked quite well), reading/averaging the bellow pressure, sending midi notes - nothing out of the ordinary
really. There was also processing of the two 'function' keys, which you can select in software to be +/- 1 semitone transposition (so a melodeon in any key!)
or simply to send program change up/down to your midi device.
So it's at the stage where it's reliable, works well but I did have some unimplemented ideas! With the spare A/D channels i was considering adding some
modulation controls, eg mod wheel or maybe pitch bend (now how ridiculous would that be on a melodeon!!)
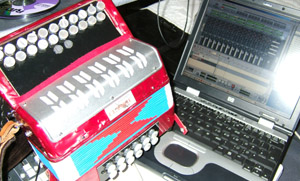
Live I use it straight via USB into my laptop, where I run Reason and anything from sample playback to realtime analogue modelling.
 Video demos (video 1 is a sample set from my Castagnari Mory I made, video 2 is a Reason refill 8 bit retro):
Home